
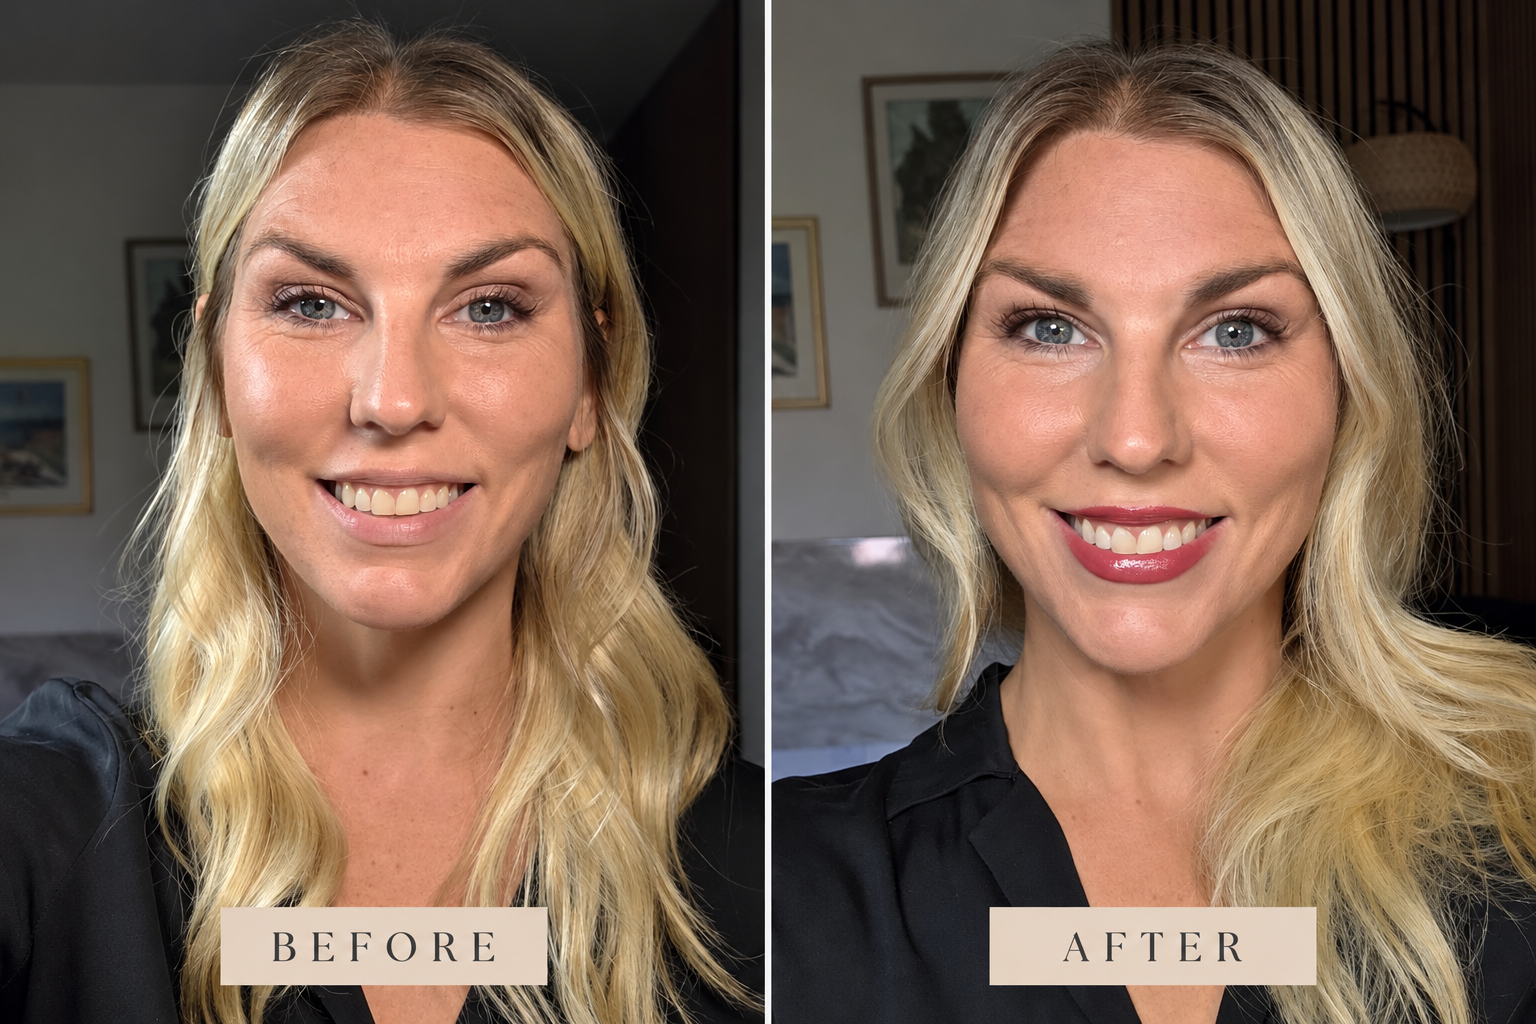
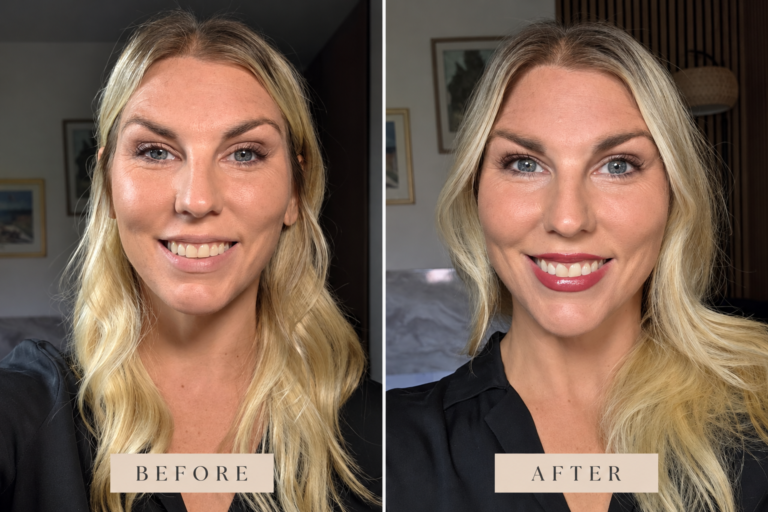
Brows frame the face, but they are also one of the easiest makeup steps to overdo. A shape or product that worked years ago may suddenly look darker, sharper or less natural than you intended. That does not mean you need a complicated new routine. Small changes in color, placement and pressure usually make the biggest difference.
The goal is to restore definition where the brow has become sparse while keeping some variation in color and texture. Real brows are not a solid block. They contain lighter areas, darker hairs and small spaces, and the most flattering makeup allows some of that softness to remain.
This post contains affiliate links. If you make a purchase through one of my links, I may earn a commission at no additional cost to you.
What I Use for Soft, Natural Brows
I keep my brow routine fairly simple. These are the basic products and tools I use to add definition without making my brows look heavy or overly drawn on.
- Microfine brow pencil: for creating small, hairlike strokes through sparse areas. shop the microfine brow pencil
- Clear or tinted brow gel: for lifting, separating and lightly setting the hairs. tinted or clear
- Spoolie brush: for brushing the brows into place and softening excess color. shop the spoolie brush
- Small angled brush: for applying powder or refining the tail with more control. shop the angled brow brush
- Lightweight concealer: for subtly cleaning up the lower edge when needed. shop the lightweight concealer
- Precision tweezers and brow scissors: for occasional shaping and trimming—not creating an entirely new brow. shop the brow scissors and tweezers
Why Brows Can Look Different After 40
Brow hairs may appear thinner, lighter, grayer or more uneven over time. Some hairs become coarse or grow in a different direction, while other areas do not look as full as they once did. Changes in skin texture can also affect the way pencils, powders and gels sit on the brow area.
Makeup can improve the appearance of sparse or uneven brows, but it cannot explain sudden or significant hair loss. If you notice an abrupt change, irritation or loss in other areas, consider discussing it with a qualified medical professional.
The Brow Mistake That Creates a Harsh Result
The most common problem is applying the same amount of color from the inner corner to the tail. That creates a stamped-on shape, especially when the front of the brow is dark and square. A natural brow is usually softer at the beginning, fuller through the middle and more defined toward the tail.
Instead of outlining the entire brow and filling it in, work only where you need definition. Use light upward strokes at the front, slightly more color through sparse areas and a cleaner line along the tail. Then brush through the brow to soften anything that looks obvious.
Choose the Right Brow Color
Brow color should relate to your hair and complexion without becoming an exact match. A shade that is too dark can dominate the face, while one that is very warm may look orange against cooler or ash-toned hair. Taupe, neutral brown and soft ash shades are often easier to control than deep chocolate or black.
Blonde or gray hair does not automatically require a pale product. You still need enough depth to create definition, especially in photographs. Start with a neutral shade and add color gradually. If the product looks right in the package but too strong on your face, use a lighter hand or apply powder with a smaller brush before buying something new.
A Simple Brow Routine After 40
1 Brush the Hairs Up and Out
Use a clean spoolie to see the natural shape before adding any color. Brushing first reveals the gaps and prevents you from filling areas that only looked sparse because the hairs were lying flat.
2 Mark the Shape Lightly
The brow usually begins near the inner corner of the eye, arches around the outer portion of the iris and ends on a diagonal from the nostril past the outer corner. Treat those points as a loose guide rather than a rigid stencil. Your bone structure and natural growth pattern matter more than a perfect measurement.
3 Fill the Sparsest Areas First
Use the least amount of product where you already have hair. Concentrate on gaps, an uneven arch or a shortened tail. Small strokes placed in the direction of growth look more believable than one continuous line. A microfine brow pencil gives me more control than a thick or heavily pigmented pencil.
4 Keep the Front Soft
Hold the pencil farther back, reduce pressure and use upward strokes at the inner brow. If the front still looks too dark, brush through it with a clean spoolie or press a tiny amount of face powder over the area.
5 Define the Tail
The tail can carry slightly more definition because natural brows are often darker there. Keep it narrow and avoid extending it sharply downward, which can visually pull the eye area down. A small angled brow brush is especially helpful here.
6 Add Gel Where You Need Hold
Use clear or tinted gel to lift and separate the hairs. Wipe excess product from the wand first, especially at the front of the brow. A small amount gives texture; too much can create stiff, shiny hairs.
7 Check Both Brows Together
Step back from the mirror before making them identical. Brows are sisters, not copies, and forcing perfect symmetry often leads to adding too much product. Aim for similar weight and direction rather than matching every edge.
How to Create Lift Without an Exaggerated Arch
A lifted brow does not require drawing a high peak. Brush the hairs upward through the front and middle, keep the lower line clean beneath the arch, and avoid dragging the tail downward. If you add concealer, use a very small amount only where you need to sharpen the lower edge. A bright, heavy stripe under the entire brow can look more artificial than lifting.
What to Do With Gray or Wiry Brow Hairs
Tinted gel can blend a few gray hairs while also helping coarse hairs stay in place. Apply it against the direction of growth first if you need to coat the hair, then brush the hairs back into shape. For a single long hair, brush it upward and trim only the portion that clearly extends beyond the brow. Trimming too many hairs can create new gaps.
Common Brow Makeup Mistakes
- Choosing a shade that is much darker or warmer than the hair and complexion.
- Drawing a square, heavily filled inner corner.
- Outlining the entire brow before deciding where color is actually needed.
- Making every stroke the same length, angle and darkness.
- Extending the tail too far down or too far beyond the natural brow.
- Using too much gel and leaving the hairs stiff or shiny.
- Standing inches from a magnifying mirror for the entire routine instead of checking the full face.
The Five Minute Brow Routine
- Brush the brows up and outward with a clean spoolie.
- Add micro strokes only through visible gaps and the tail.
- Soften the inner brow by brushing through it once more.
- Apply a small amount of clear or tinted gel.
- Step back and stop before trying to make both brows perfectly identical.
Frequently Asked Questions About Brows After 40
Should brows be lighter or darker after 40?
Brows usually look most natural when they are close to your hair color without being overly dark. Taupe, neutral brown and soft ash shades are often easier to build gradually. If your hair is very dark, choosing a brow product one shade lighter can keep the result from looking severe.
What is the most natural way to fill sparse brows?
Brush the hairs into place first, then add short, light strokes only where you can see gaps. Follow the direction of the natural hair growth, keep the inner brow softer and brush through the color with a spoolie before adding more.
Is brow pencil or brow powder better for mature skin?
Both can work well. A microfine pencil gives more control for individual hairlike strokes, while powder creates soft shading over a larger sparse area. The best choice is the one you can apply lightly without dragging or depositing too much color at once.
How do you keep mature brows from looking harsh?
Avoid outlining the entire brow or making the inner corner dark and square. Use the least product at the front, add slightly more definition through the arch and tail, and step back from a magnifying mirror to check how both brows look with the rest of your face.
Soft Definition Is the Goal
A good brow routine should make your eyes and face look more defined without making the brows the first thing people notice. Start with less product than you think you need, keep the inner brow soft and add definition gradually. Once you find a shade and technique that work, the routine can be one of the quickest steps in your makeup bag.
For the rest of a soft, flattering makeup look, see my eye makeup techniques for women over 40, my mascara comparison for mature eyes, and this soft vamp makeup look for women over 40.

3 Responses