
I’m someone who loves a home that feels cozy, calm, and put together — but I’m also very realistic about time, budget, and effort. If a DIY project is complicated or takes all afternoon, I’m probably not doing it.
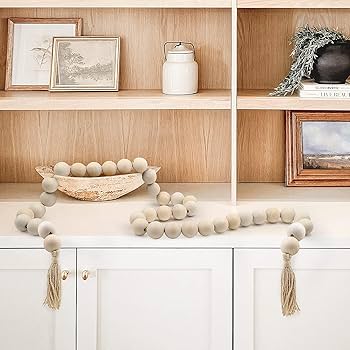
That’s why this wood bead garland is one of my favorite DIYs ever.
It takes about 15 minutes, costs very little to make, and I use it constantly. Coffee tables, shelves, trays, entryways — it somehow works everywhere without feeling trendy or overdone.
Why I Keep Making These
I’ve made several versions of this garland over the years, and I always come back to it because it:
- Instantly adds warmth and texture
- Works with neutral, modern, or farmhouse décor
- Is easy enough for anyone (no tools required)
- Looks like something you’d find in a boutique
It’s one of those small details that makes a space feel finished without trying too hard.
What You’ll Need (All Amazon Finds)
Everything I use for this project can be found on Amazon, which makes it even easier:
- Unfinished wooden beads (I like 12–20mm) https://urlvue.com/r/nic33ke1aw
- Natural jute twine or cotton cord https://urlvue.com/r/hh0dloeyto
- Scissors https://urlvue.com/r/4vxuxfd1nj
- Clear-drying craft glue (optional) https://urlvue.com/r/0uf28opf3o
- Optional for tassels
- Yarn, embroidery floss, or leather cord https://urlvue.com/r/8u3nr6lcgl
- A small comb (for smoothing yarn) https://urlvue.com/r/9s51de9x88
Tip: Grab extra beads. Once you make one, you’ll want another.

Step 1: Cut the Cord
I usually cut my cord a little longer than I think I’ll need. For reference:
- Coffee tables or trays: about 30–36 inches
- Shelves or smaller spaces: about 24–30 inches
Extra length makes it easier to tie knots and add tassels later.
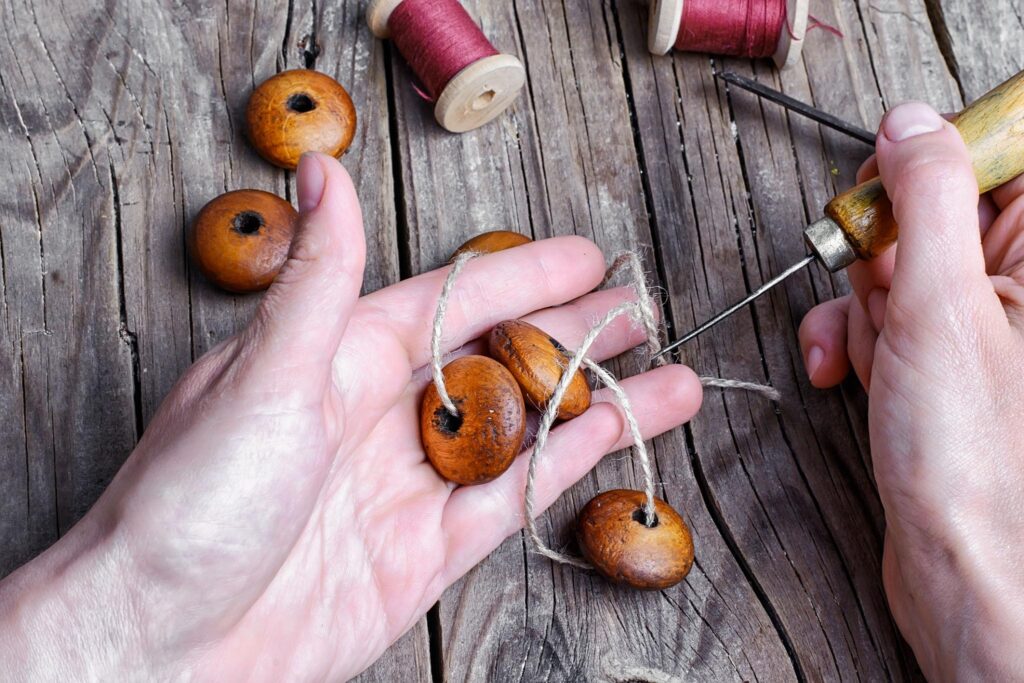
Step 2: String the Beads
Thread the wooden beads onto the cord until it looks right to you. There’s no perfect number here — I usually stop when it feels full but still relaxed.
Sometimes I mix bead sizes, sometimes I don’t. Both look great.
Step 3: Tie Off the Ends
Once the beads are on, I tie a knot at each end to keep everything in place. If I know I’ll be moving it around a lot, I add a tiny drop of clear-drying glue to the knot for extra security.
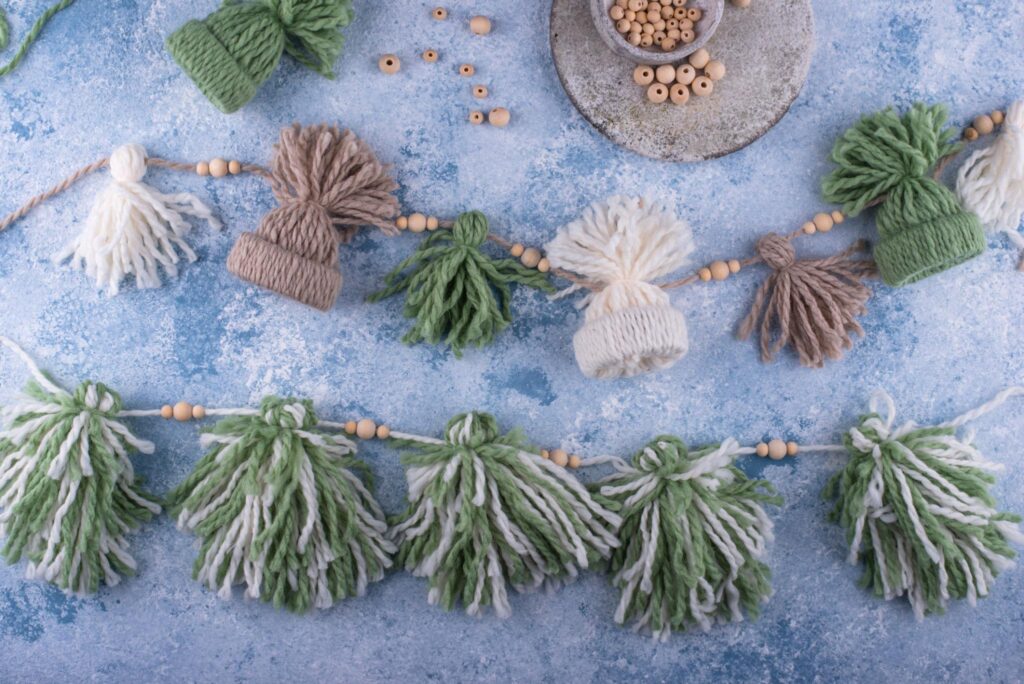
Step 4: Add Tassels (Optional, but My Favorite Part)
To make tassels, I wrap yarn or cord around my fingers about 10–15 times, tie it off at the top, and cut the bottom.
I attach one tassel to each end of the garland and trim until it looks clean and even. It doesn’t have to be perfect — that slightly imperfect look is what makes it feel handmade.
How I Style Mine Around the House
Here are a few of my go-to spots:
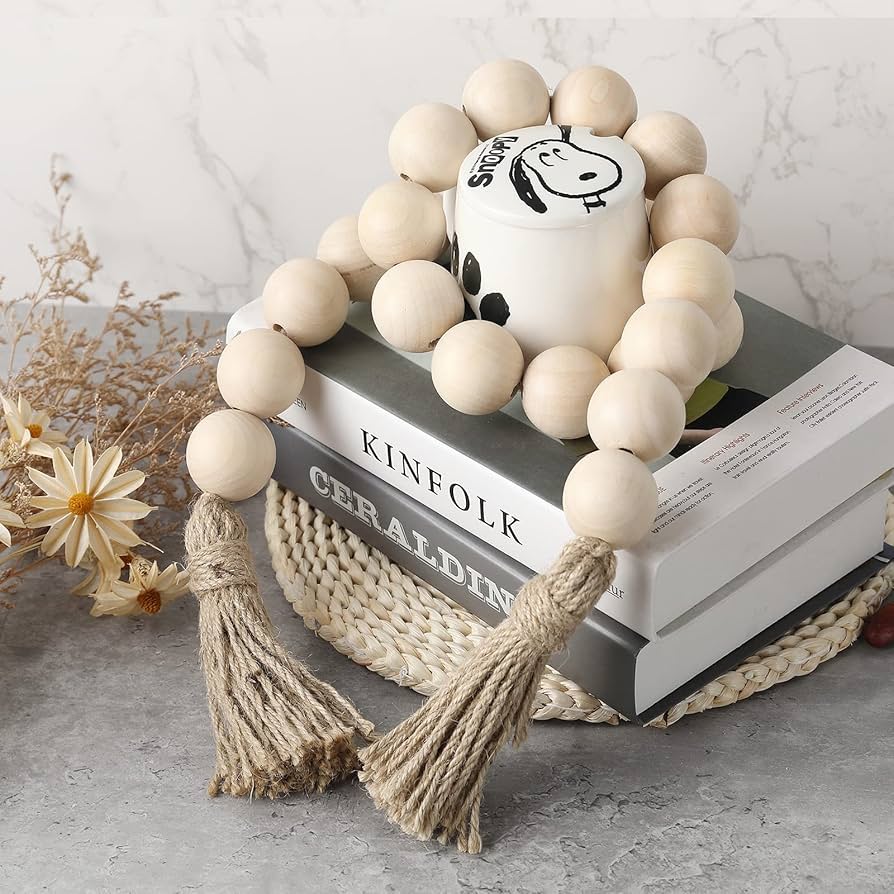
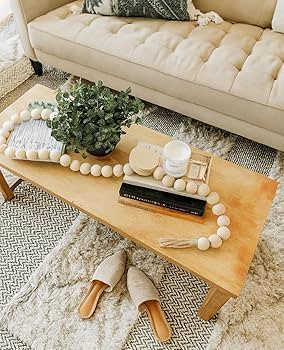
- Draped over stacked coffee table books
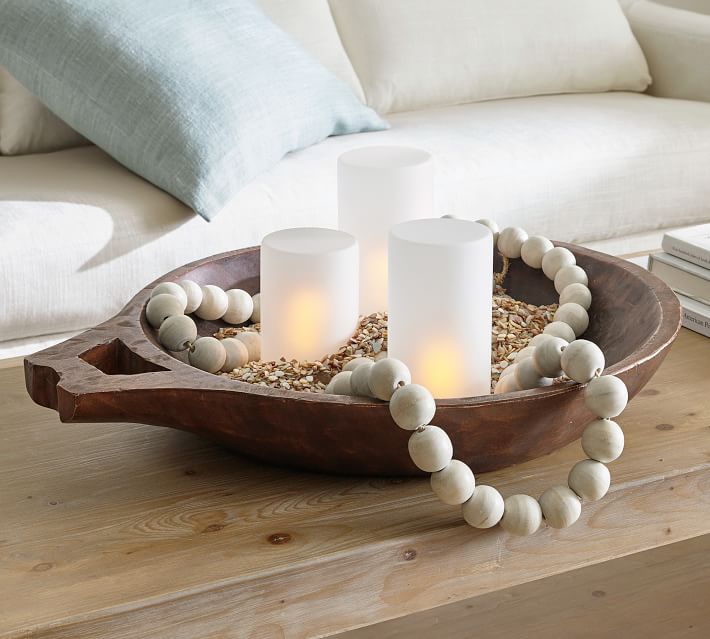
- On a decorative tray with a candle or small vase
- Wrapped loosely around a planter
- Styled on shelves or an entryway table
I love that I can move it from room to room and it always works.
Final Thoughts
This is one of those simple projects that gives you a lot of payoff for very little effort. It’s easy, inexpensive, and honestly just makes my home feel more “me.”
If you’re looking for a DIY that doesn’t feel overwhelming but still makes a noticeable difference, this is a great one to start with.